

Responsible Production

Finished Product

Perfect Fit Tong and Groove Design

Quick Installation


Explore Colors & Designs

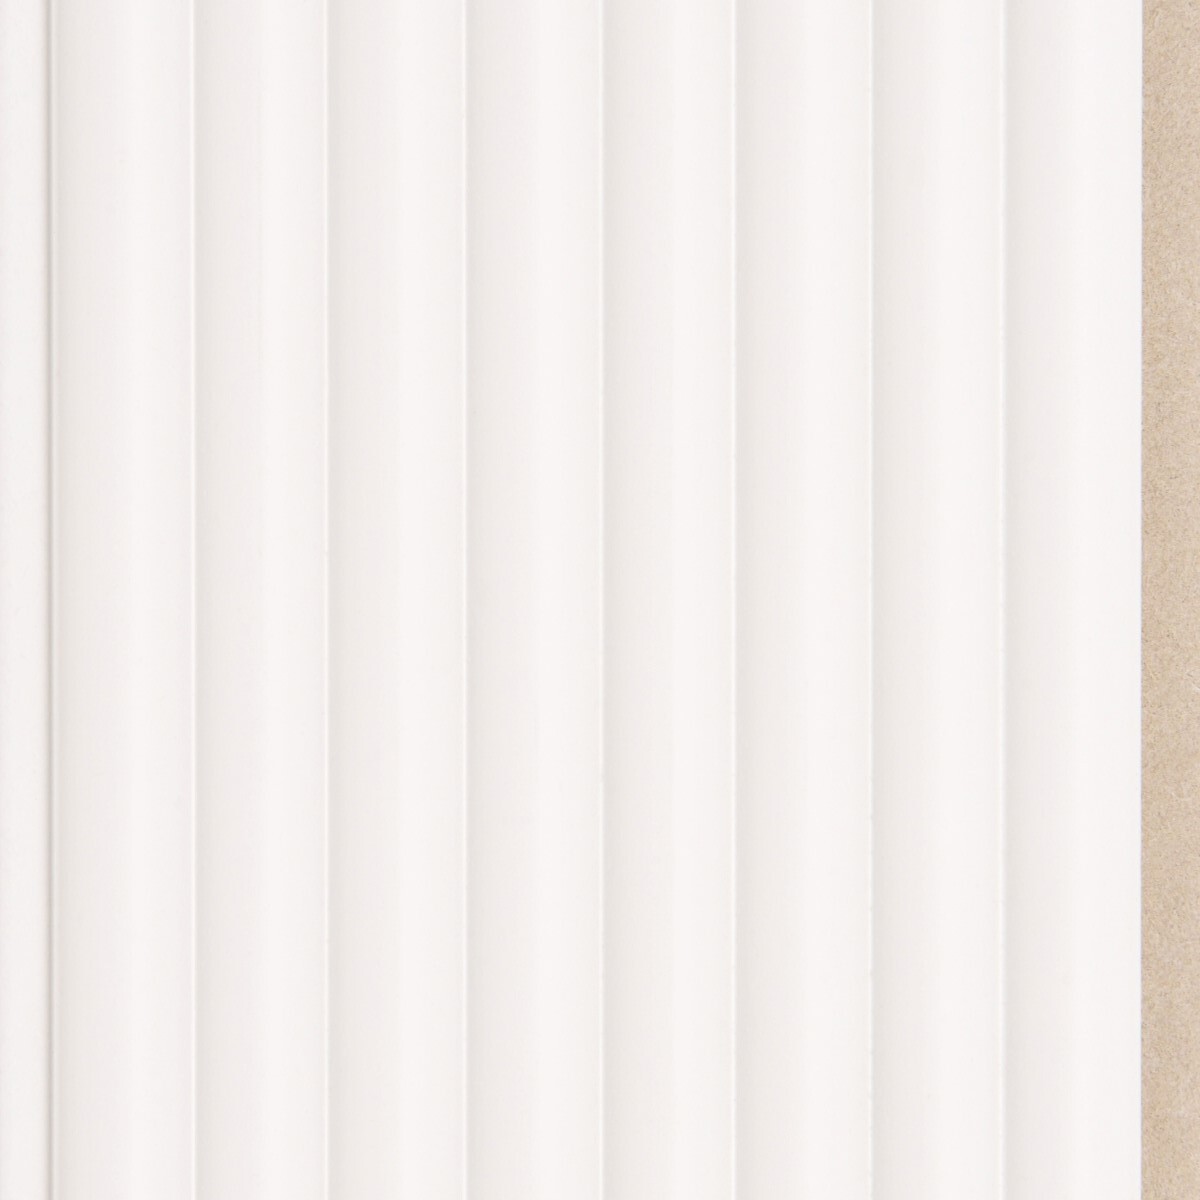
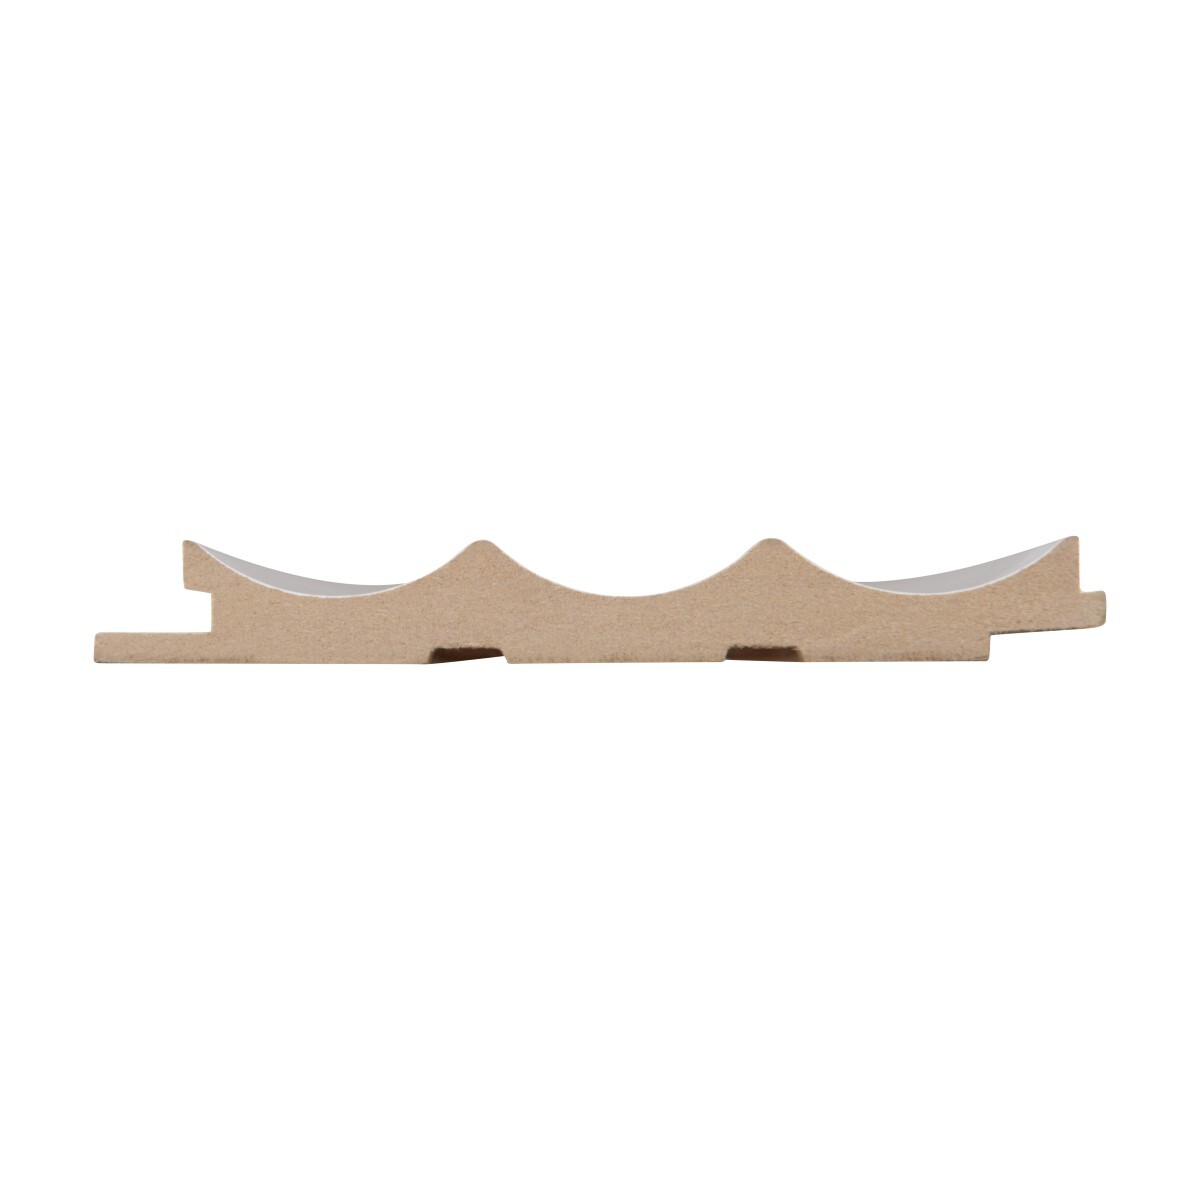
Concave
WHITE
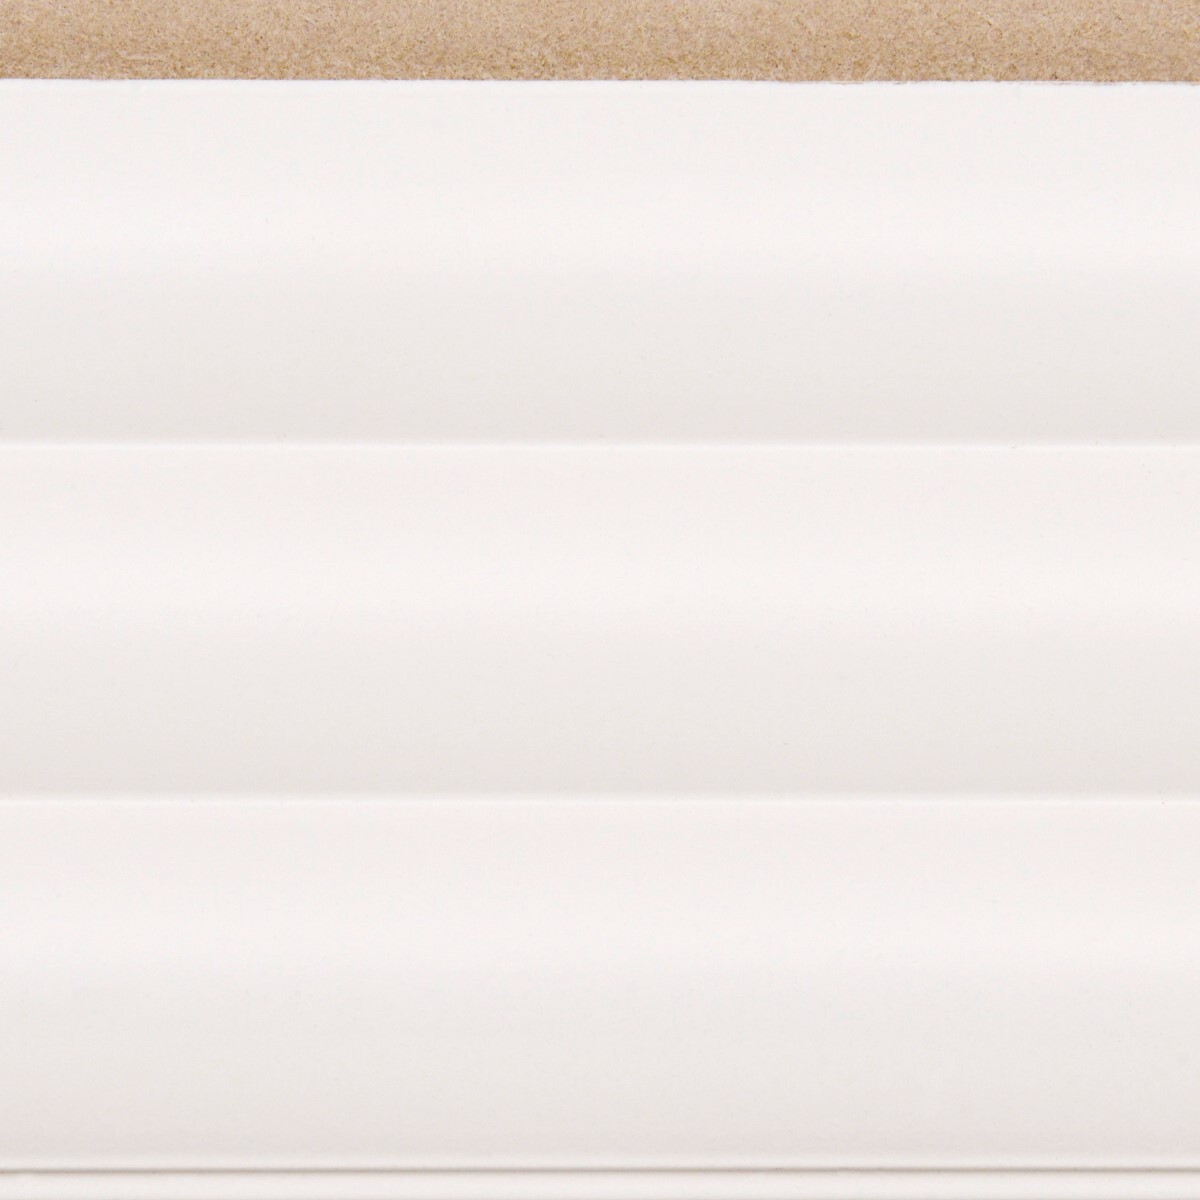
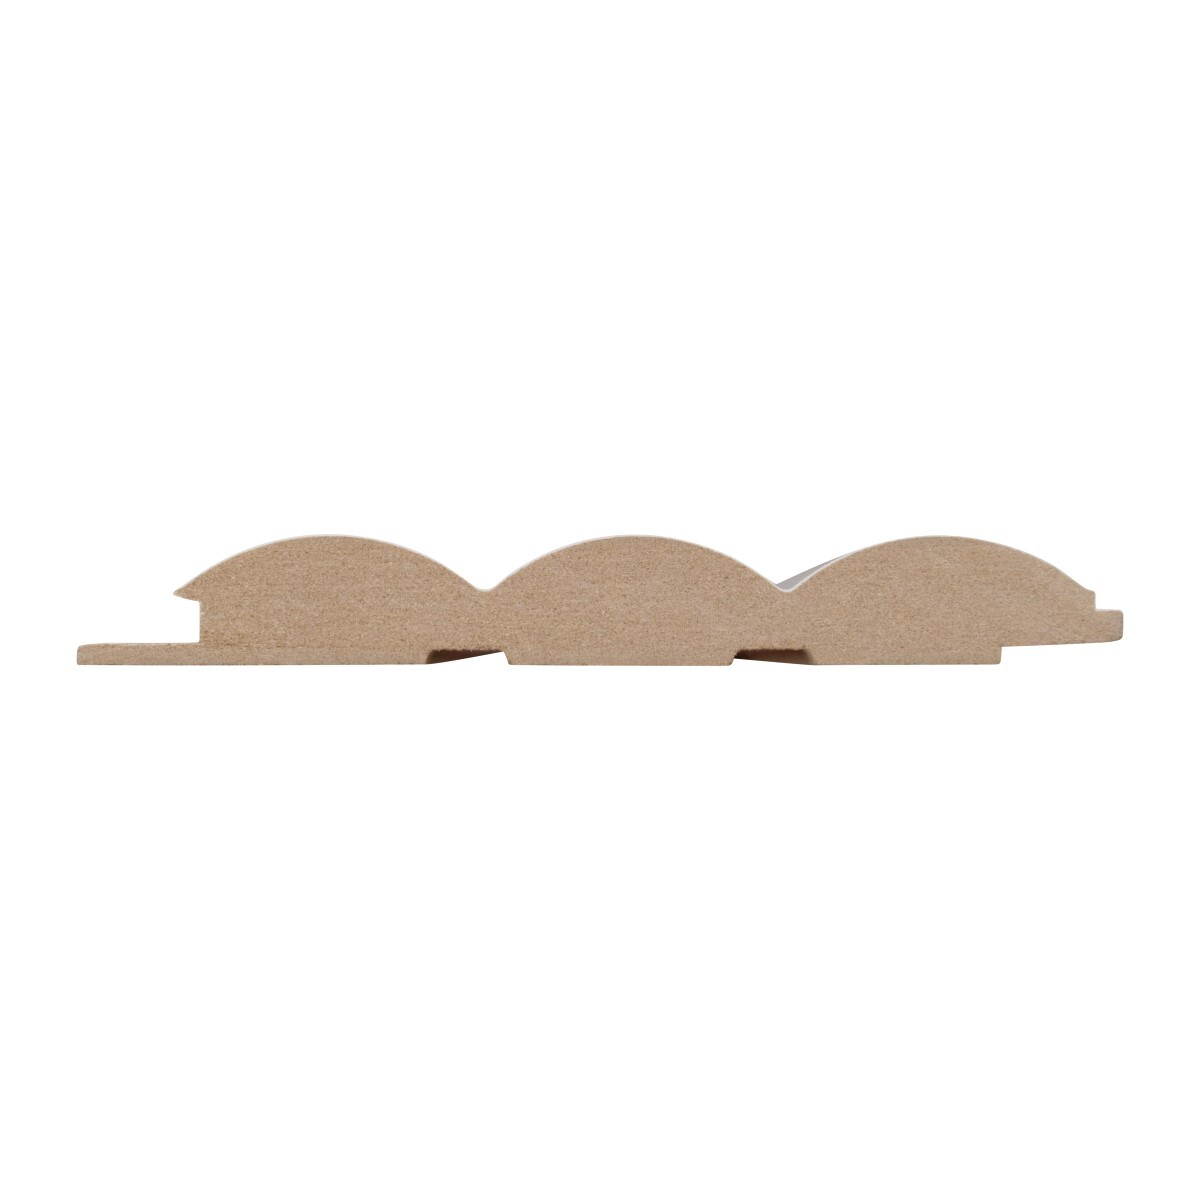
Convex
White
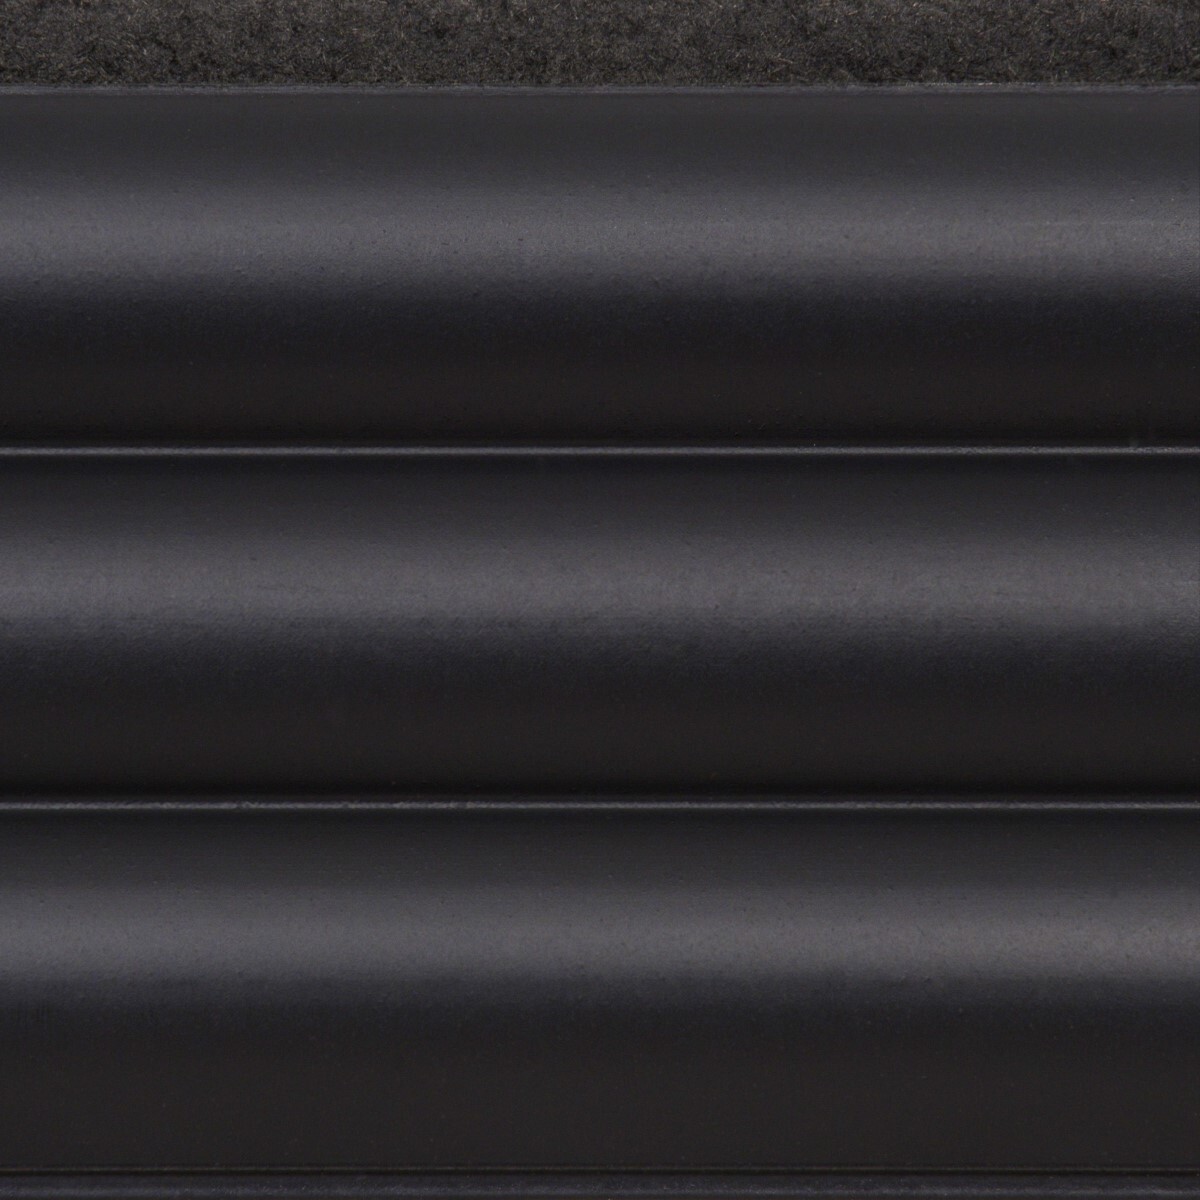
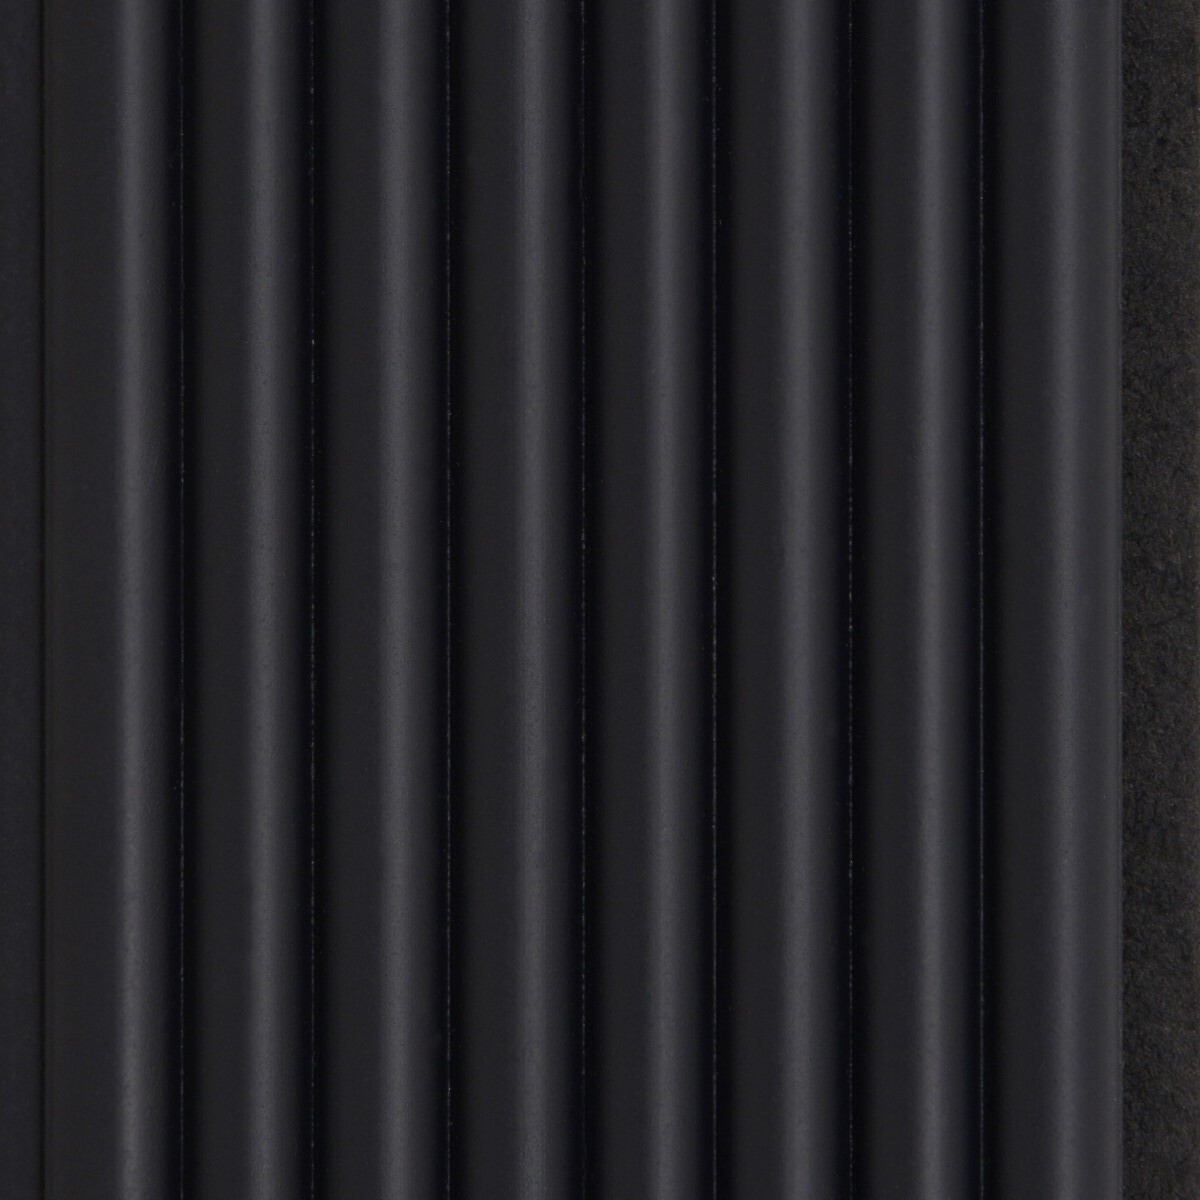
Convex
Black

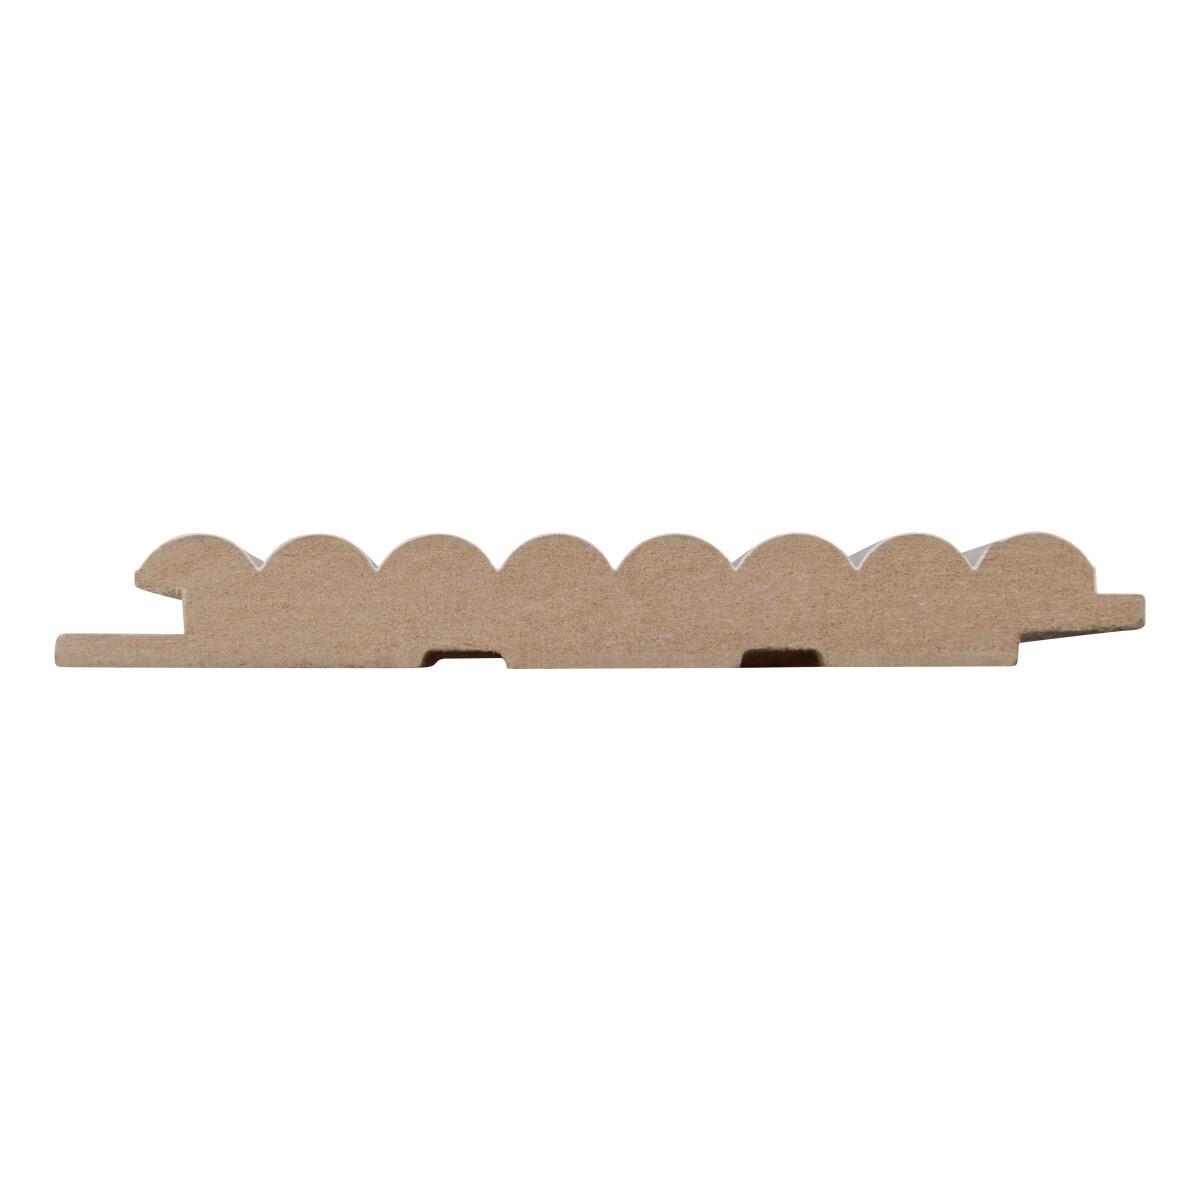
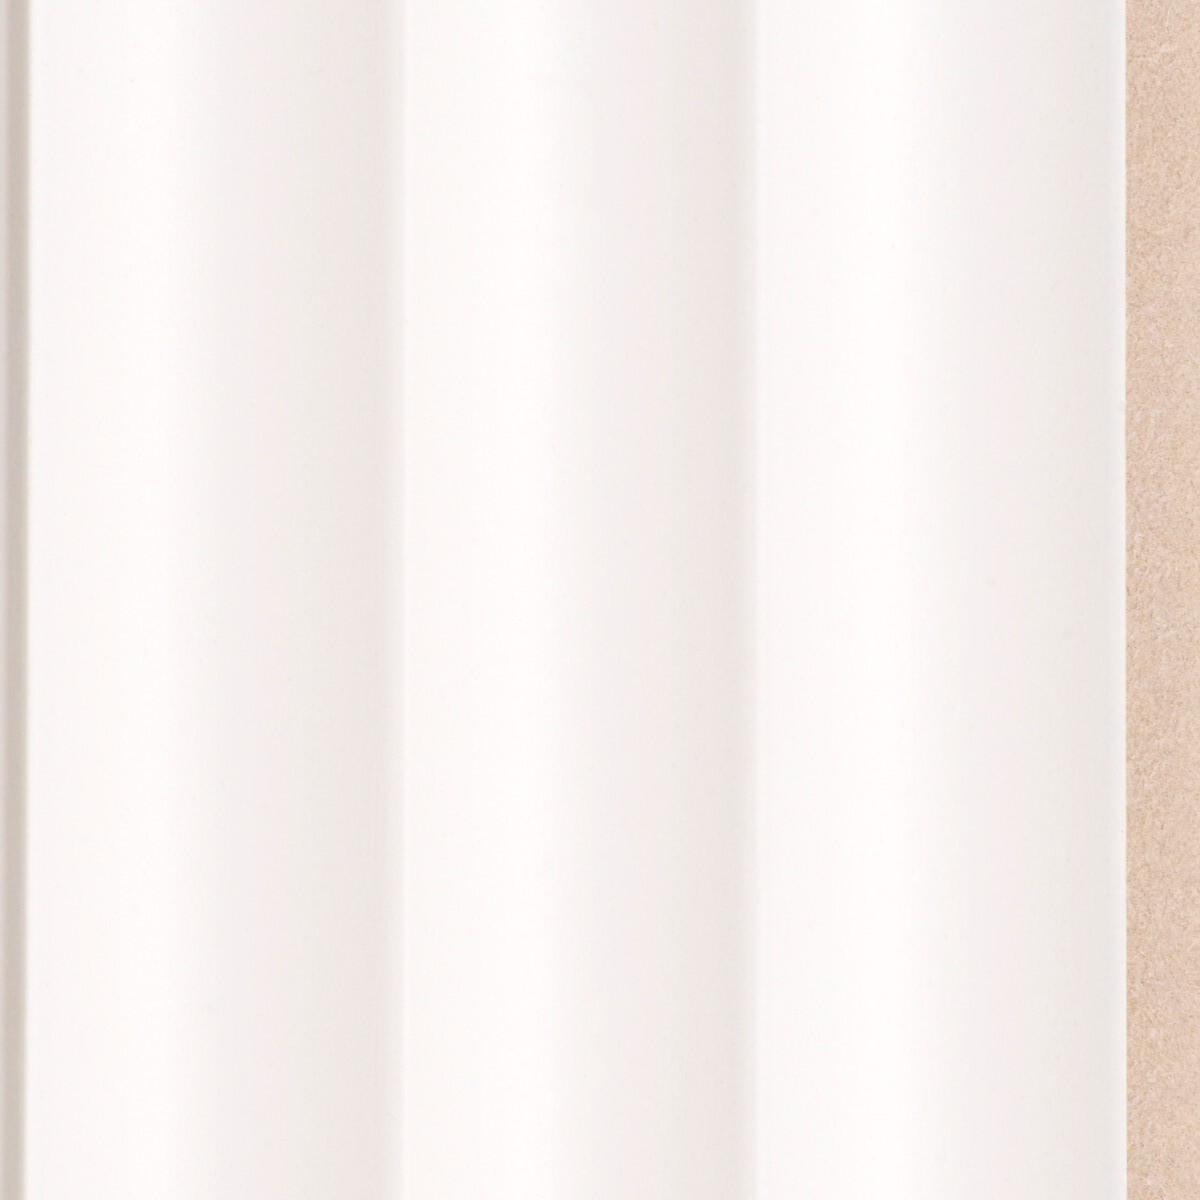
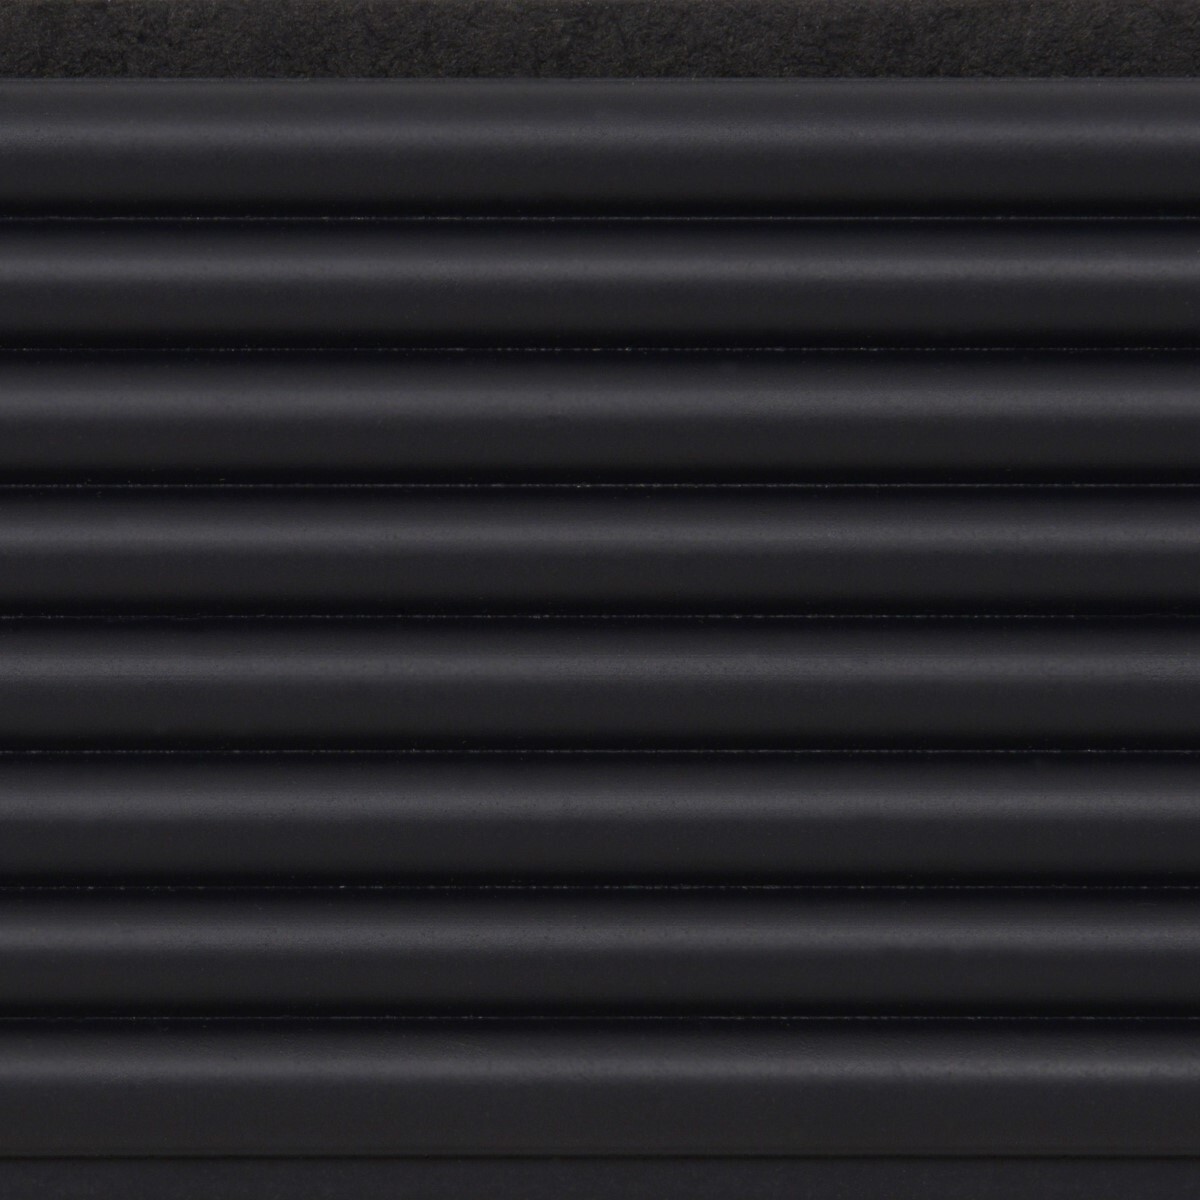
Micro Convex
WHITE
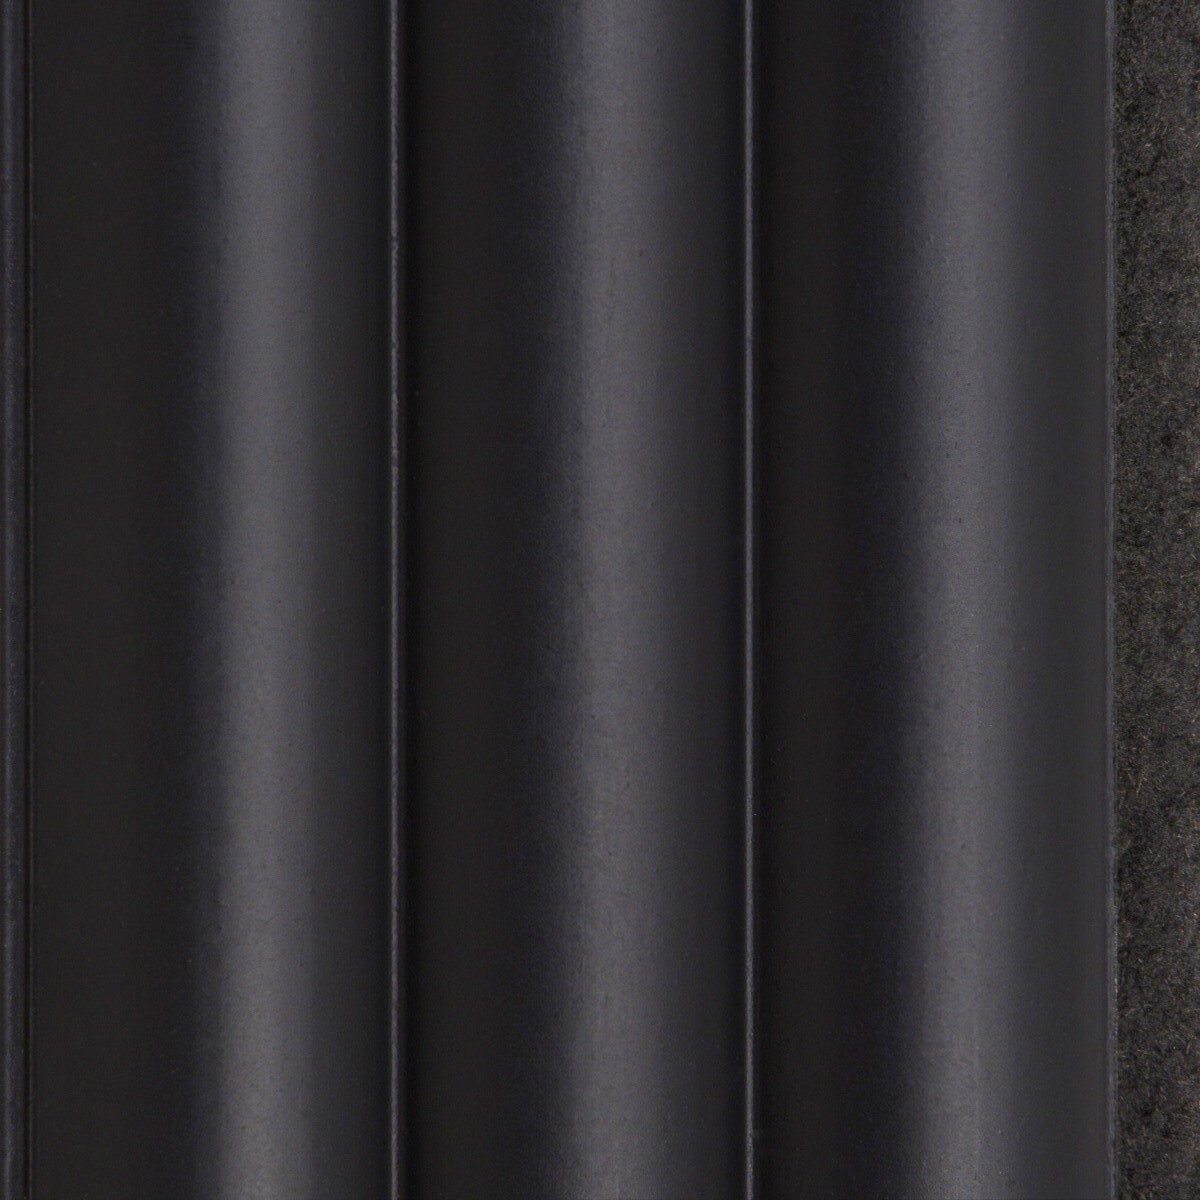
Micro Convex
BLACK